วิธีการแก้ไข “Smart Slider” วิธีการแก้ไข
1. เข้าสู่ระบบทางเว็บเซิร์ฟเวอร์ของคุณด้วย ข้อมูลและลิ้งก์การเข้าใช้งานจากทาง MeWeb ที่ส่งให้หลังจากเว็บไซต์ออนไลน์แล้ว
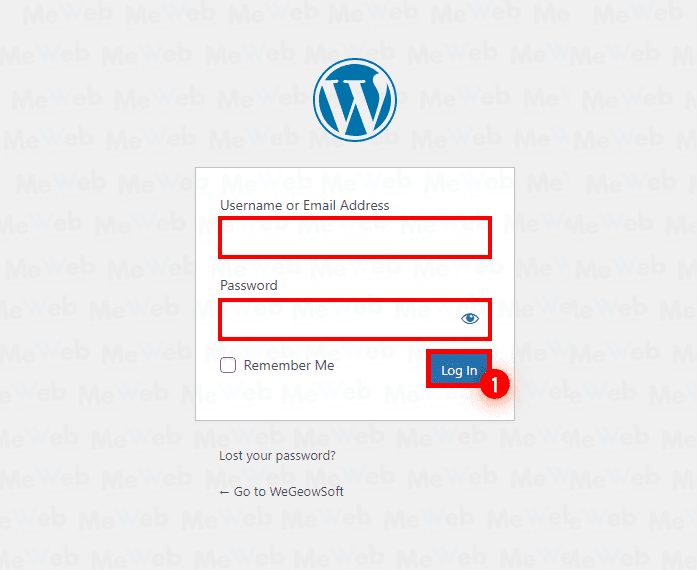
1.1 เข้าสู่ระบบ WordPress:
- ไปที่หน้า Dashboard ของเว็บไซต์ WordPress ของคุณ
- ใส่ชื่อผู้ใช้และรหัสผ่านของคุณ
- คลิกปุ่ม “เข้าสู่ระบบ”
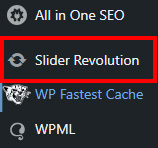
1.2 ค้นหา Slider Revolution:
- ในเมนูแถบด้านข้างทางซ้ายมือ คลิกที่ “Slider Revolution”
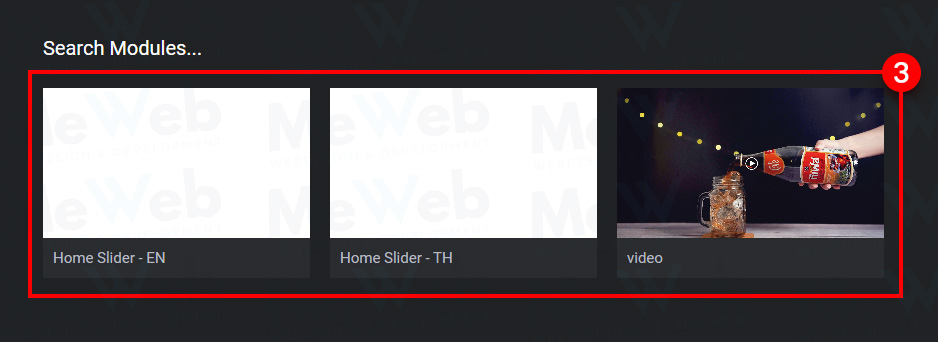
1.3 เลือกสไลเดอร์ที่ต้องการเปลี่ยนภาพ:
- คลิกที่ชื่อของสไลเดอร์ที่ต้องการเปลี่ยนภาพ
1.4 เปลี่ยนภาพ (Desktop):
- เลือก “เลเยอร์” ที่ต้องการเปลี่ยน
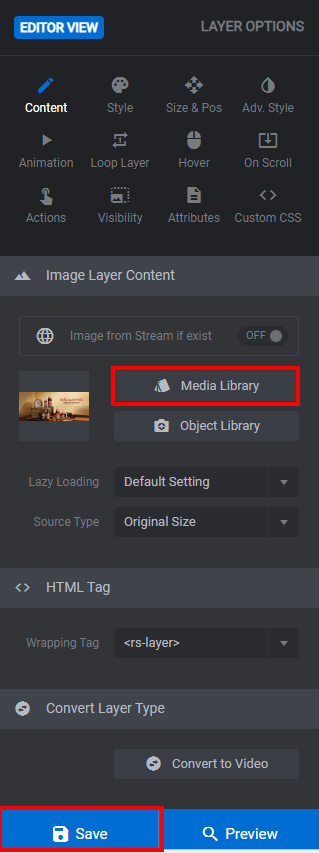
- จากนั้น เลือก “Content” (ส่วนนี้ให้คลิกที่ภาพ Banner) จากนั้นจะปรากฏ “Media Library”
- อัปโหลดภาพที่ต้องการเปลี่ยน > “Insert”
- เลือก “Save” เพื่อบันทึก

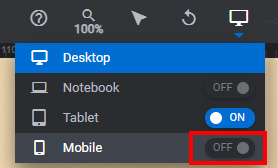
เปลี่ยนภาพ (Mobile):
- เปิด “On” ส่วนของ Mobile
- เลือก “เลเยอร์” ที่ต้องการเปลี่ยน
- จากนั้น เลือก “Content” (ส่วนนี้ให้คลิกที่ภาพ Banner) จากนั้นจะปรากฏ “Media Library”
- อัปโหลดภาพที่ต้องการเปลี่ยน > “Insert”
- เลือก “Save” เพื่อบันทึก
